

Notifications
Route order, billing, and tracking events to the right teammates and customers — and enable webhooks for system-to-system integrations.
1. Notification groups
Open Organization Notifications 1. A user with permission to manage groups can create a group, name it, add members, and configure event/channel choices. A page with no groups yet shows Create Group 2 at the top right and a second Create Group 3 in the empty state. Select from the event rows actually offered, such as Order Placed, Order Completed, Driver Assigned, and Task Artifact Completed. Available channels include Email, SMS, and Push.
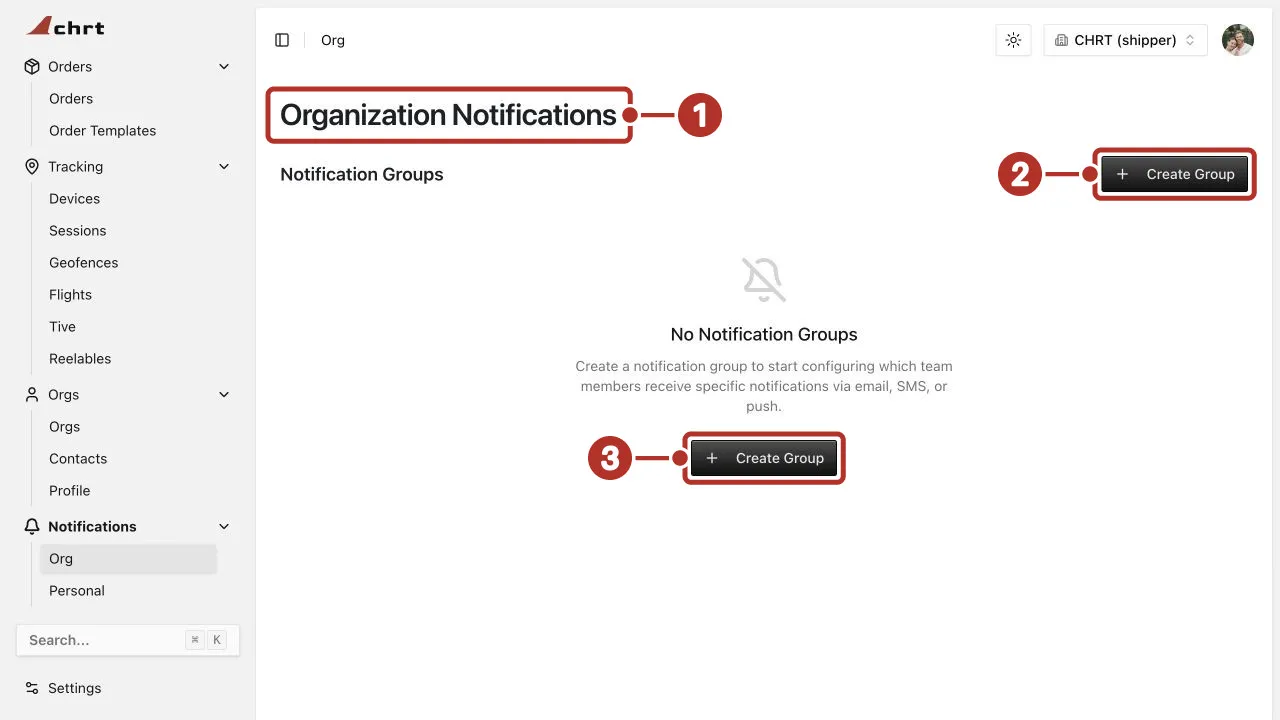
Notifications > Org for a shipper organization with no notification groups yet. 1 Organization Notifications page, 2 Create Group button at the top right, 3 Create Group button in the empty state.
Personal preferences
Open Personal Notifications to review your own groups, notification preferences, and SMS phone information. Group configuration and a person’s own preferences both matter when checking a missing alert. Check the saved preferences before repeating an event. A group you belong to shows its Receiving Notifications 1 status, an Opt Out 2 button and its configured Email 3 events.
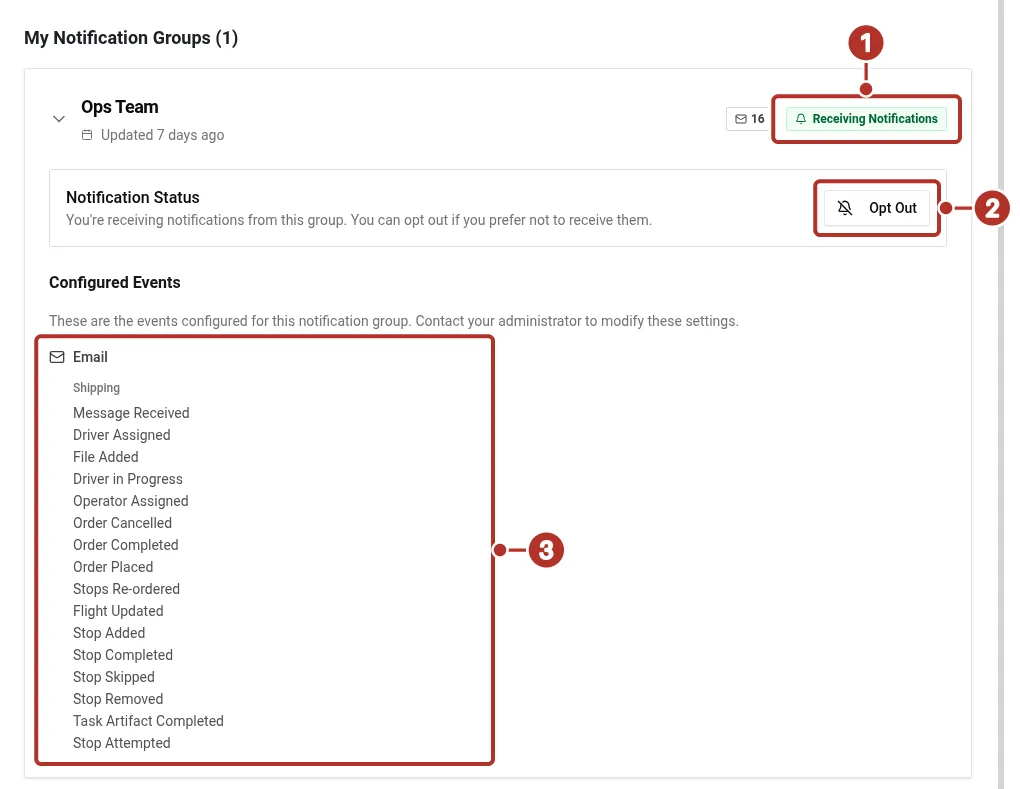
Notifications > Personal, showing a group you belong to. 1 Receiving Notifications status, 2 Opt Out button, 3 Email events.
2. Ad-hoc notifications on a specific order
Review the contact and notification controls available in the order’s stop details. Use recipients intended for that shipment and check their email information. Do not assume an order notification was delivered because an address was added; verify the actual message with a test recipient.
3. Webhooks
Open Webhook settings. If the page shows Enable Webhooks 1, enable them only when your team is ready to configure its integration. The page also shows an About Webhooks 2 card. Once the management portal is available, configure the receiving endpoint and the event subscriptions it needs. Verify the endpoint receives a permitted test event and processes it successfully. Ask an administrator if the page is unavailable.
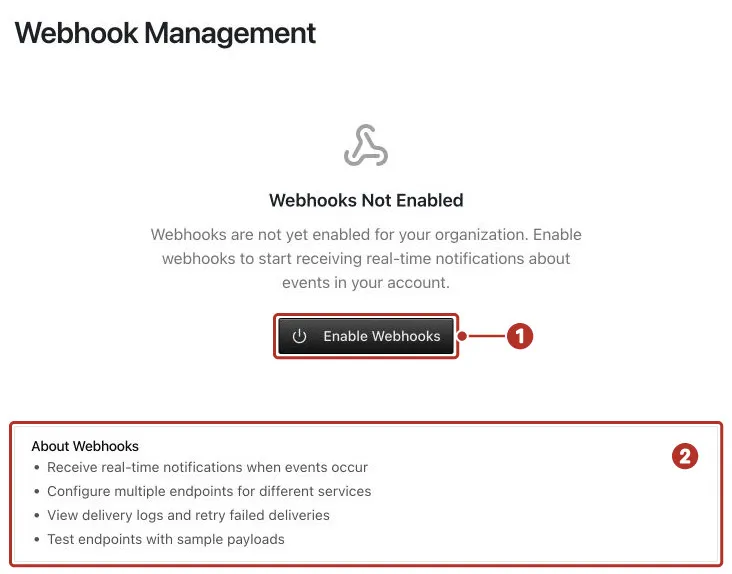
Settings > Webhooks before webhooks are enabled. 1 Enable Webhooks button, 2 About Webhooks card.
Troubleshoot a missing update
Check the active organization, selected event, recipient membership, personal preferences, channel details, and any visible error. For webhooks, compare the portal delivery result with the receiver’s logs. A saved checkbox, a queued message, and a delivered update are separate outcomes.